Permission granted: How to increase your push notification subscribers
.png)

.png)
Push notifications can be one of the most effective ways to engage your audience. But getting users to opt in is all about timing, messaging, and value. Ask too soon, and they might say no forever. Wait too long, and they could abandon the app before you even have the chance. Let’s break down exactly how to make the ask—at the right moment and in the right way—with actionable steps (and a little help from Appcues, of course).
A push messages prompt (or push primer) is the critical moment when your app asks users to enable push notifications. It’s your one chance to convince them to say yes. And the timing of this prompt can make or break your opt-in rates.
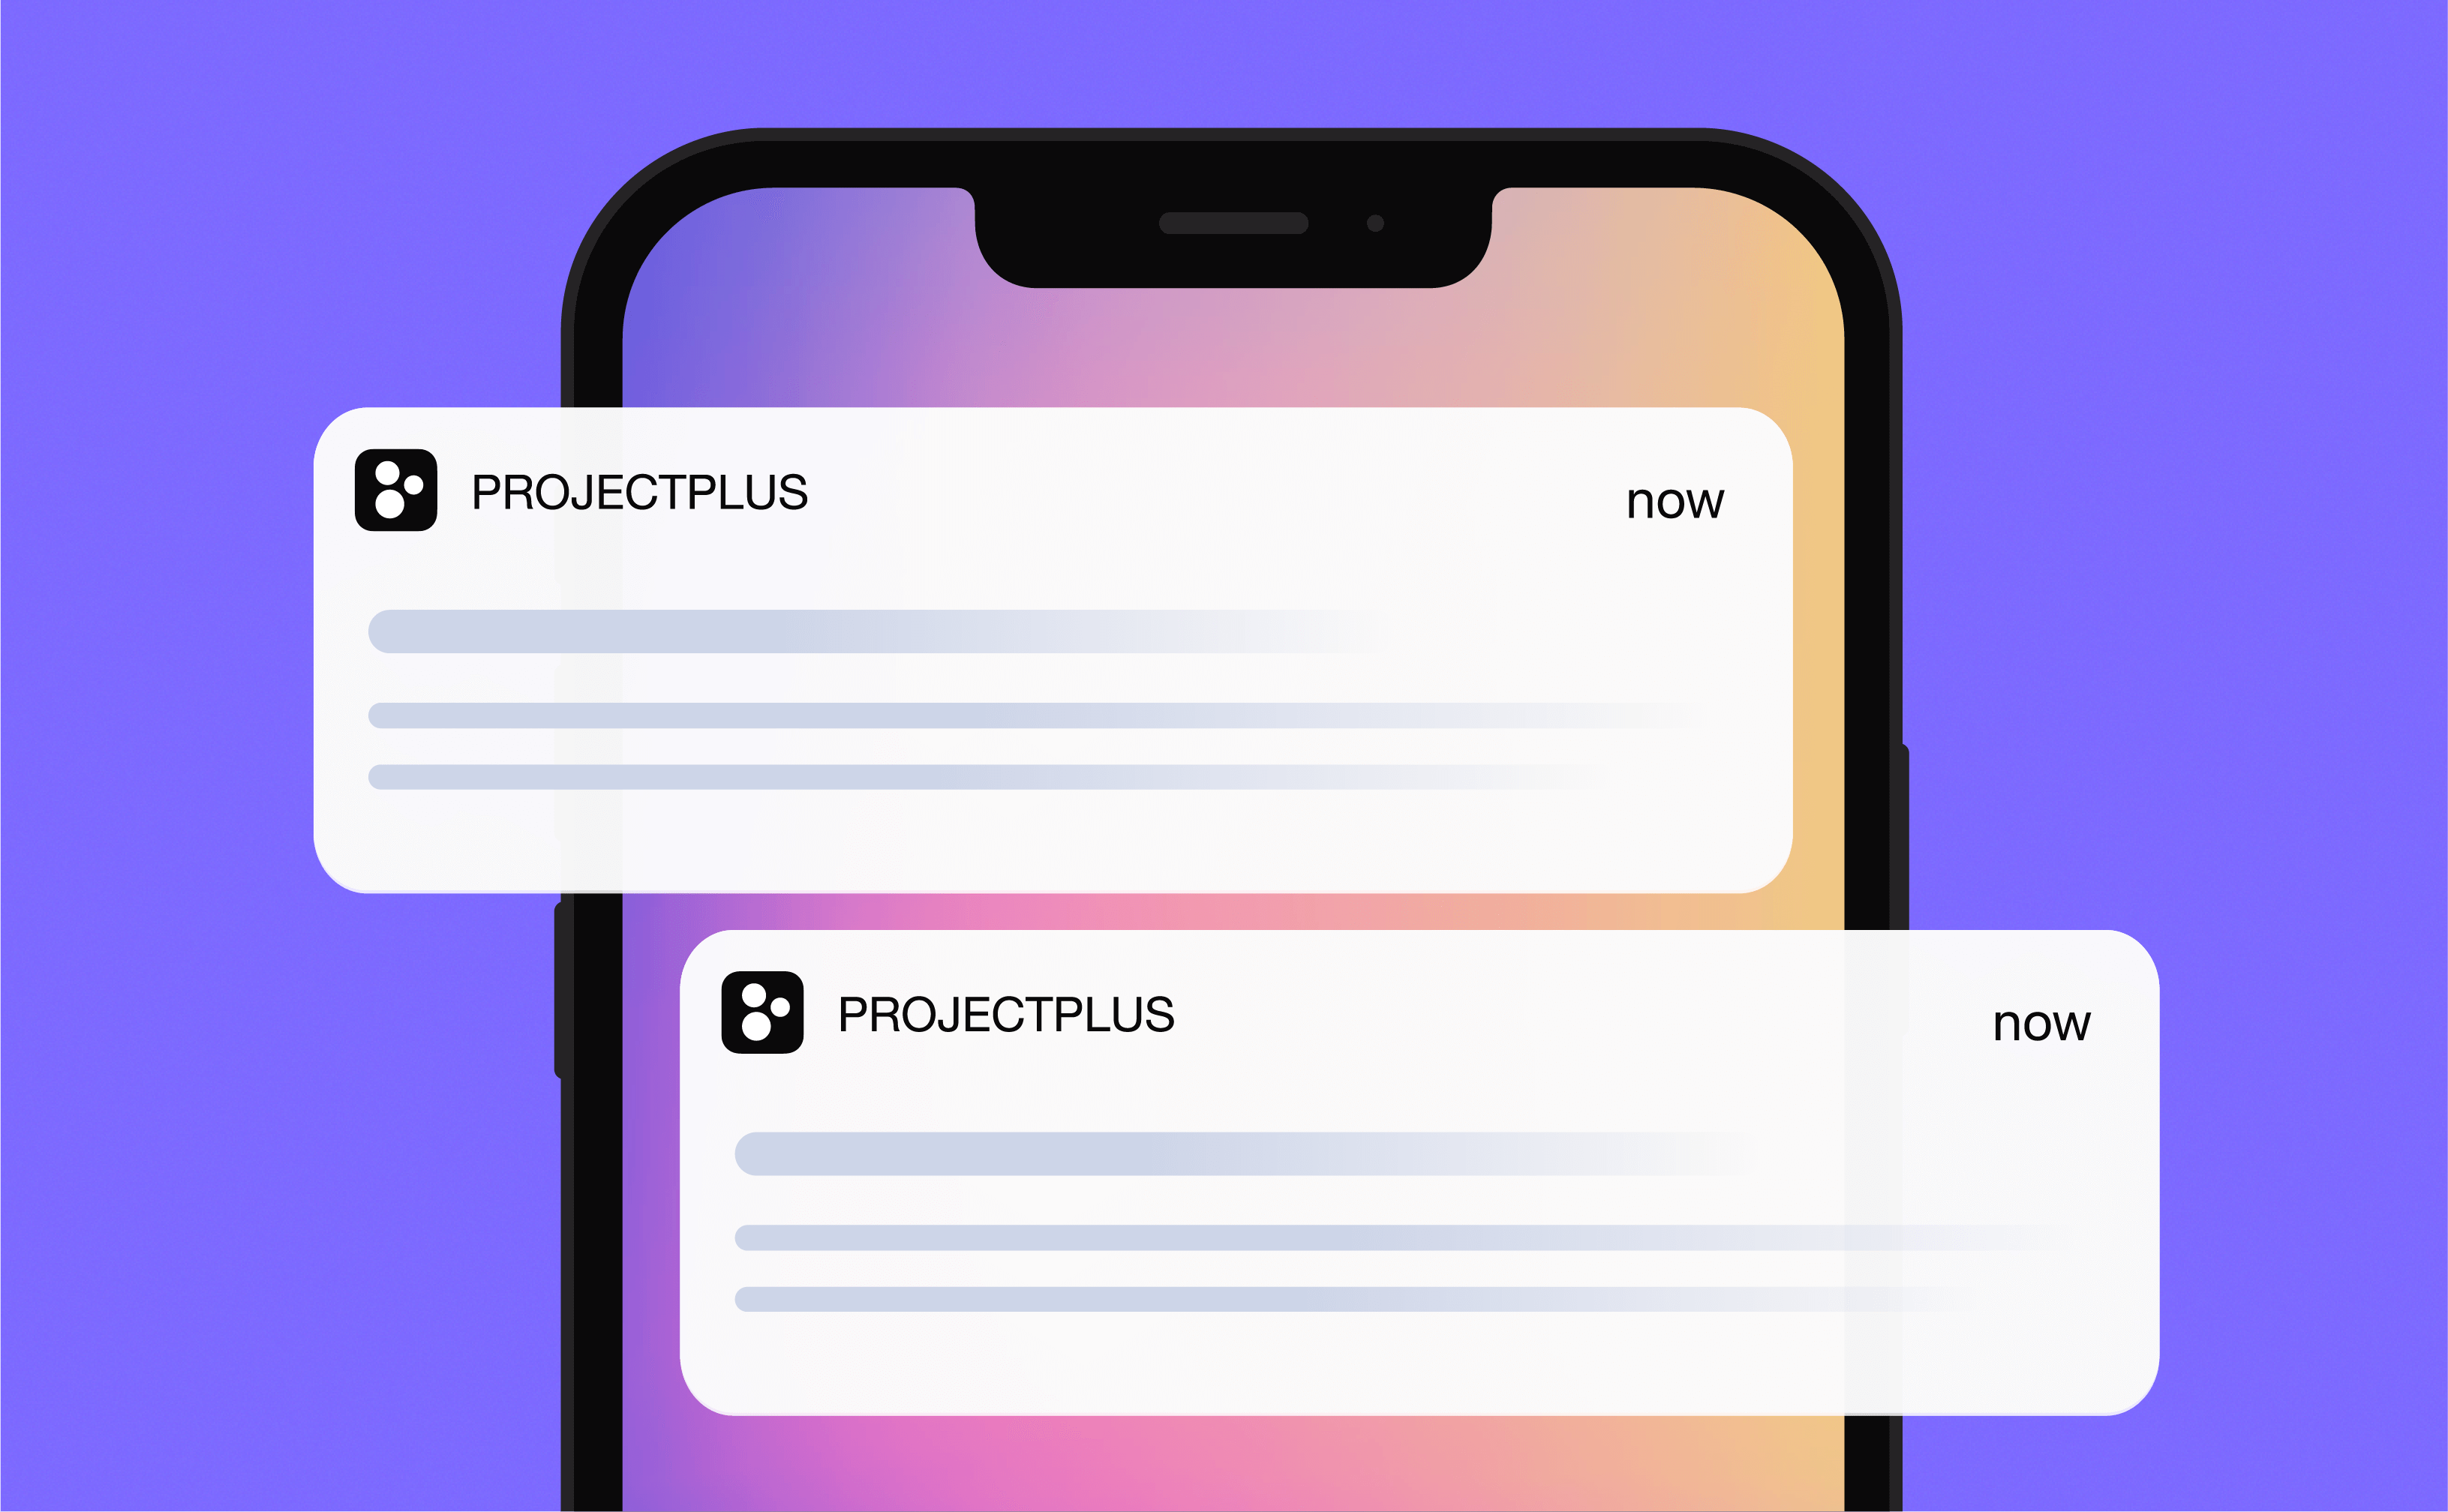
Push notifications are more than just a convenient nudge—they’re a direct line to your users, bringing them back to your app when it matters most. Whether it’s a timely reminder, an exciting update, or a personalized offer, push notifications keep your app top of mind and help drive meaningful engagement.
But here’s the catch: They can’t work their magic unless users say yes. Let’s make sure they do.
A push primer is your chance to make a great first impression. Think of it as your elevator pitch: short, sweet, and packed with value. Here’s how to craft one that gets a thumbs-up:
Users don’t care about your notification goals—they care about what’s in it for them. Spell it out clearly and compellingly.
Example:
“Stay in the loop with real-time updates on your favorite features.”
Attention spans are short. Your push primer should be shorter.
Example:
“Don’t miss a beat! Get notified when your projects move forward.”
Make it fun, relatable, and human. Bonus points if you can sneak in a bit of wit.
Example:
“We promise: no spam, just the good stuff. Tap ‘Allow’ to stay connected.”
Your CTA should make it obvious what users need to do—and why they should do it right now.
Example:
“Tap ‘Allow’ to get updates when new features drop!”
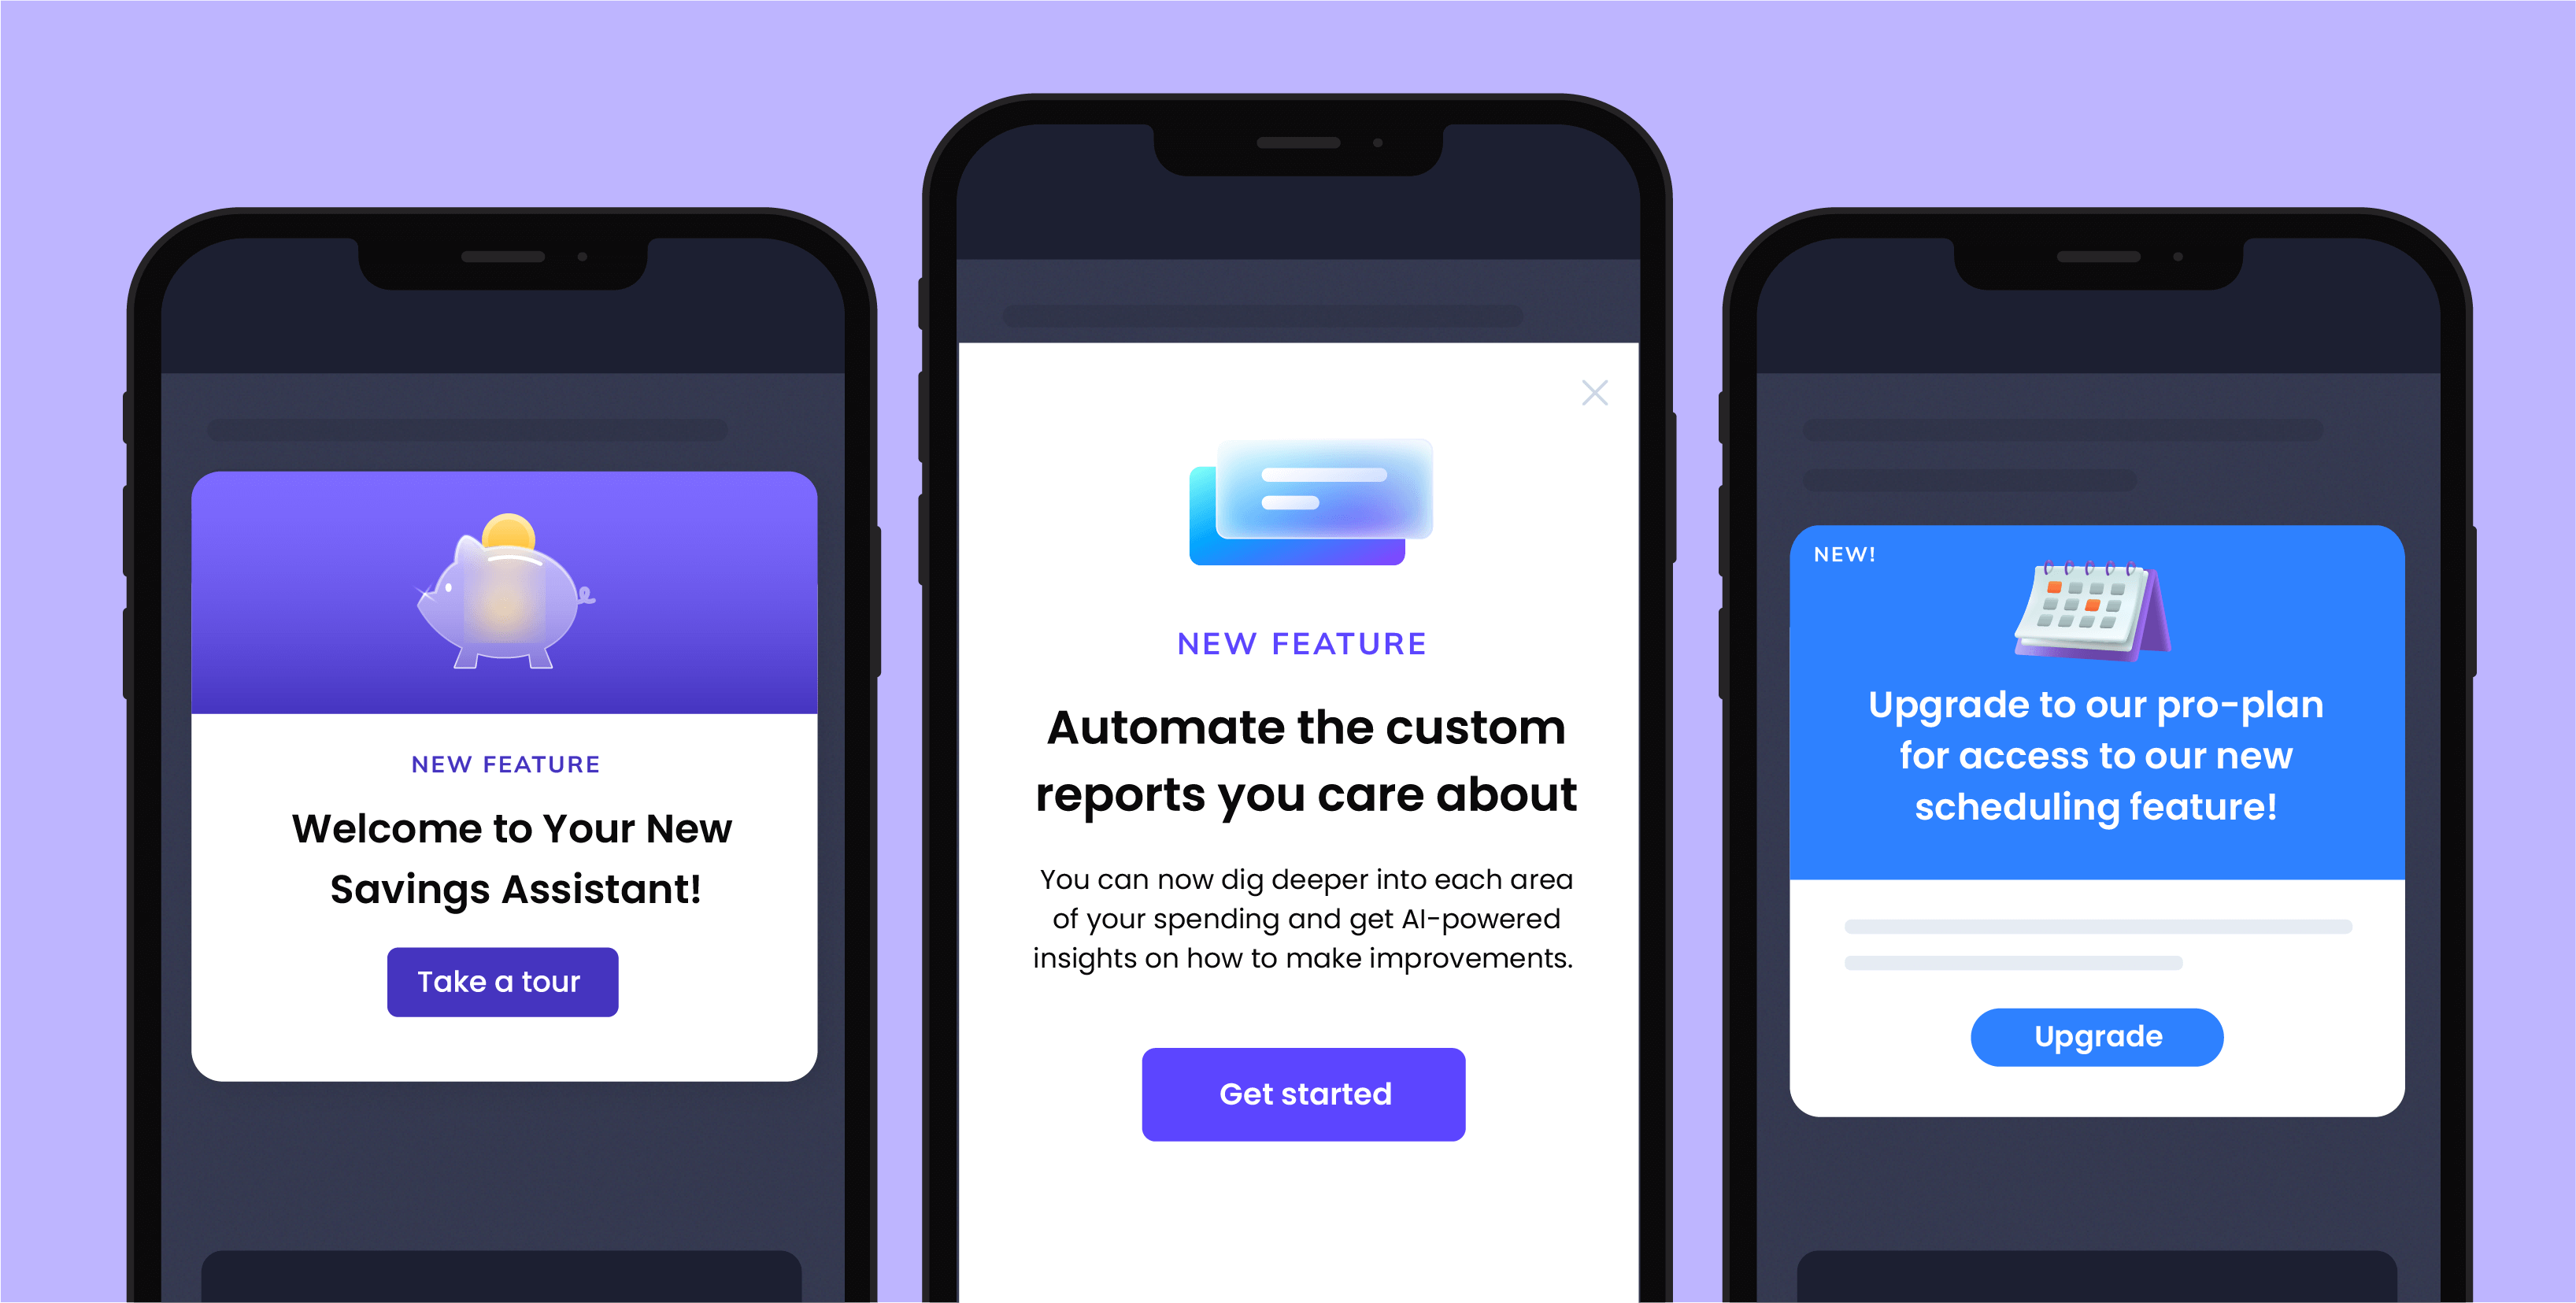
Want some inspiration? Here are a few standout push notification opt-in examples that work:
Appcues makes it ridiculously easy to set up push primers that feel like a natural extension of your app. Here’s how to do it:
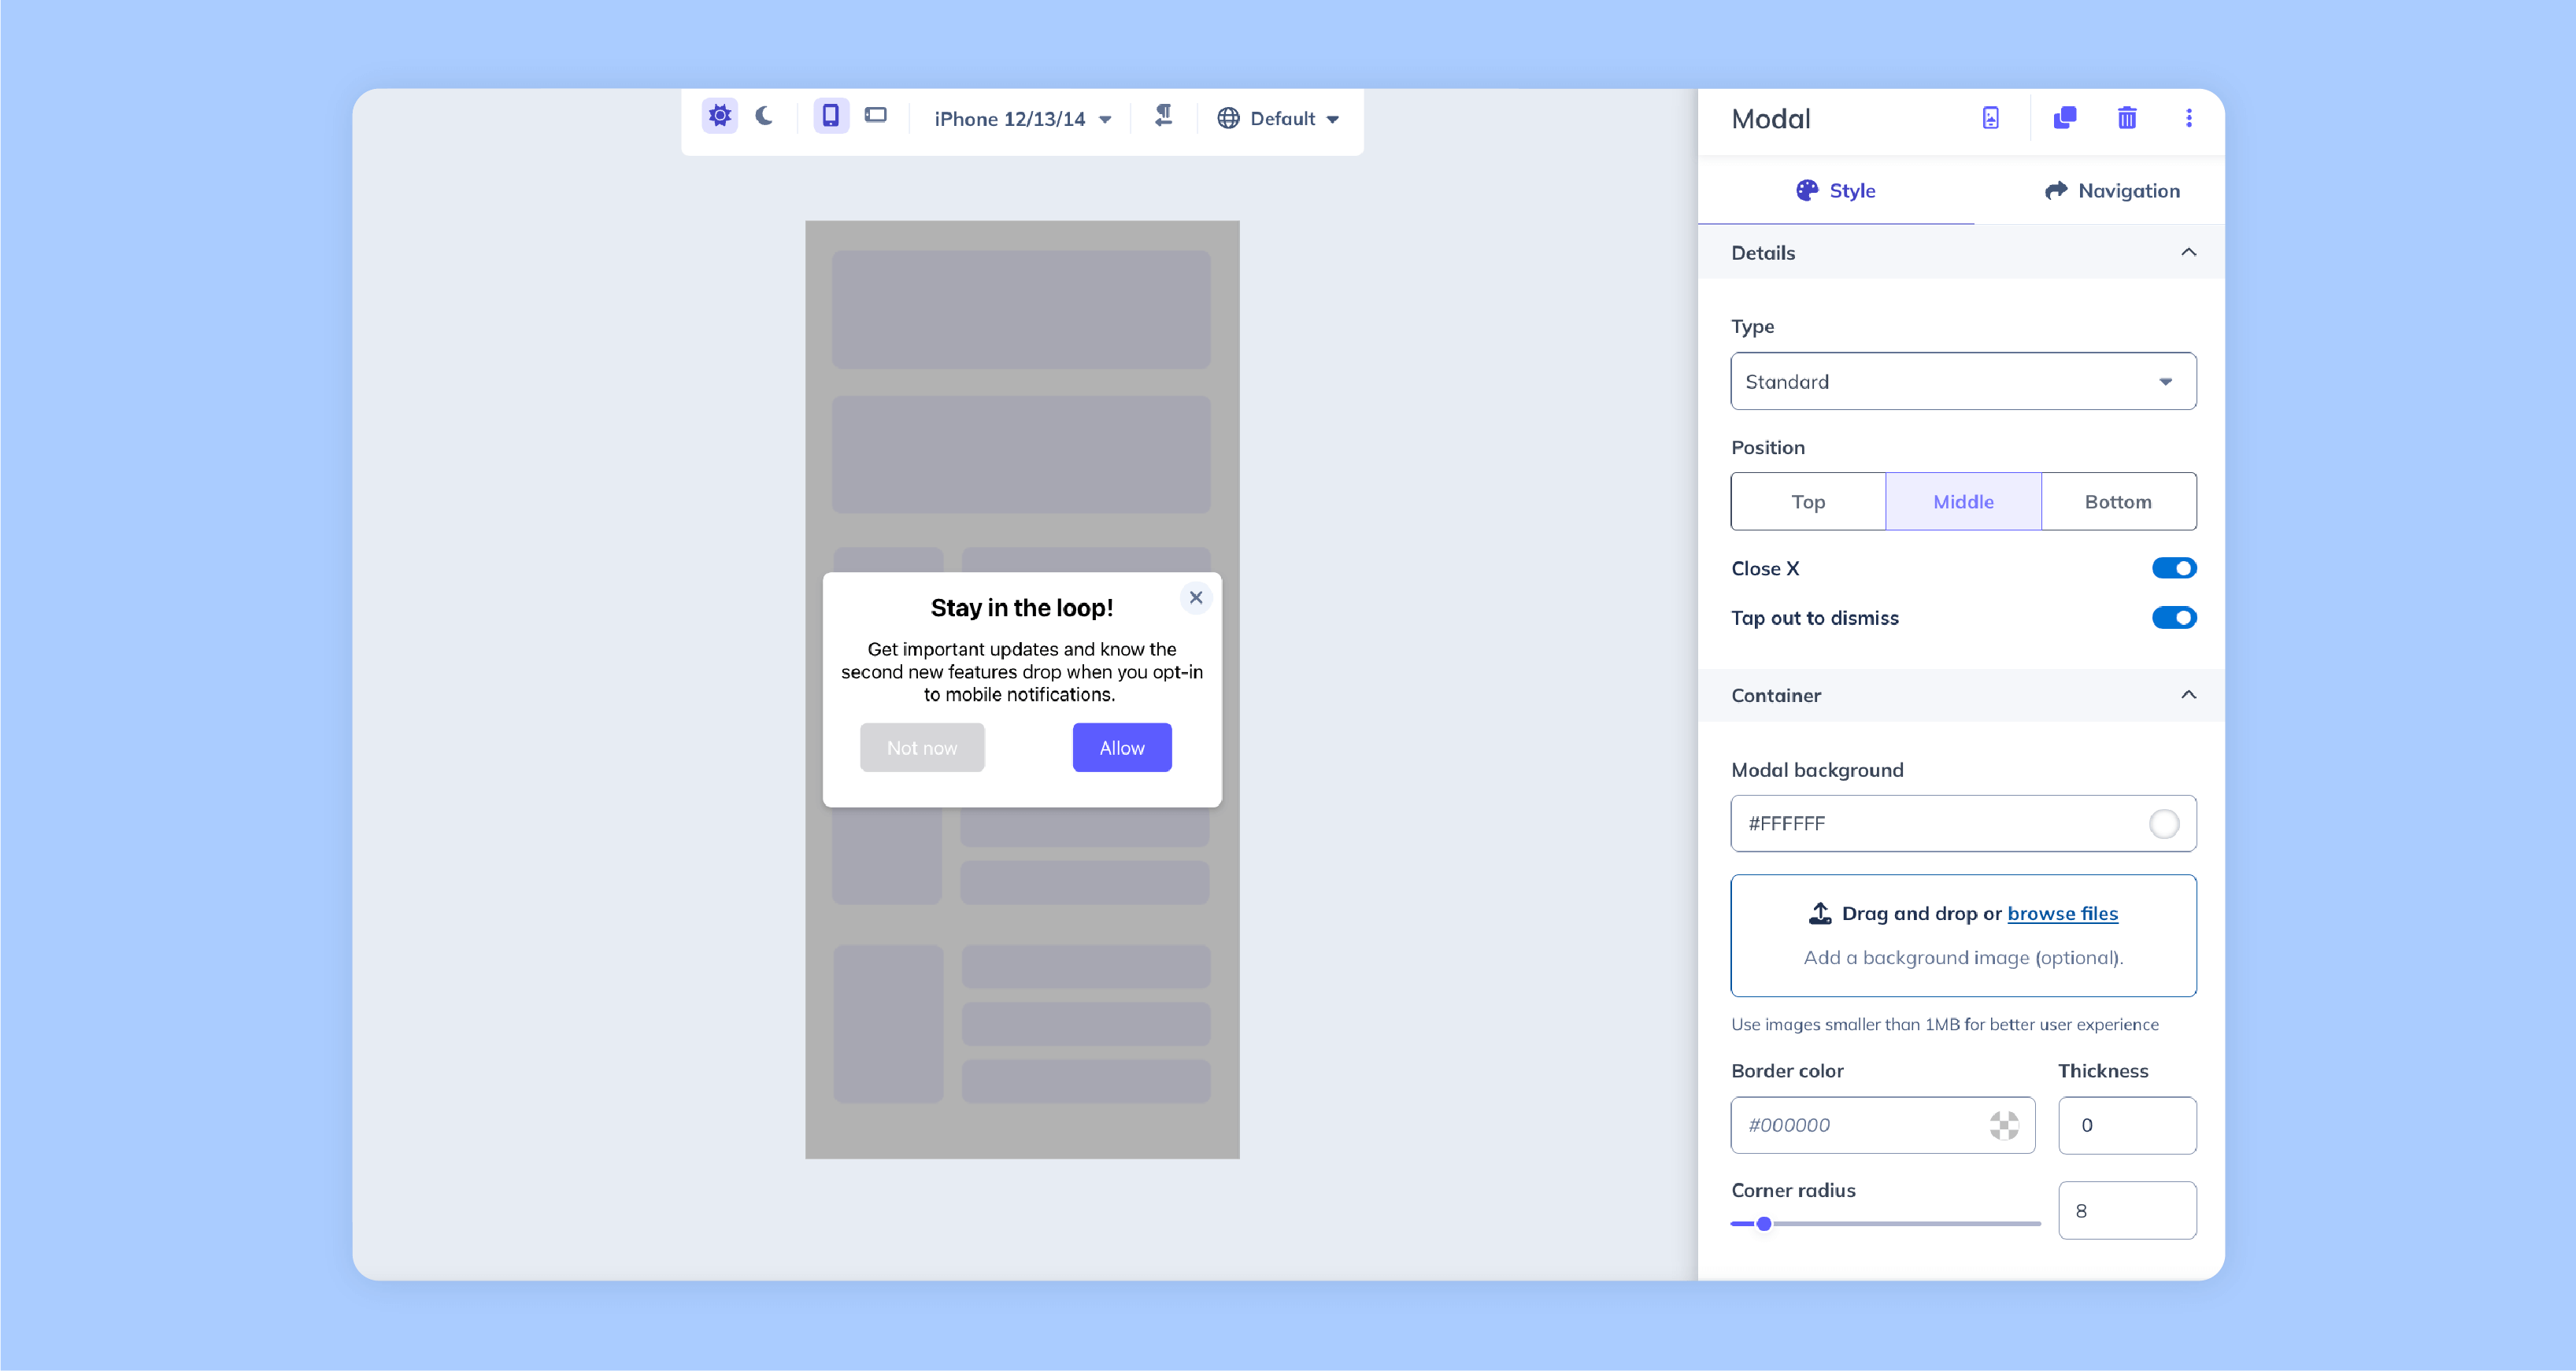
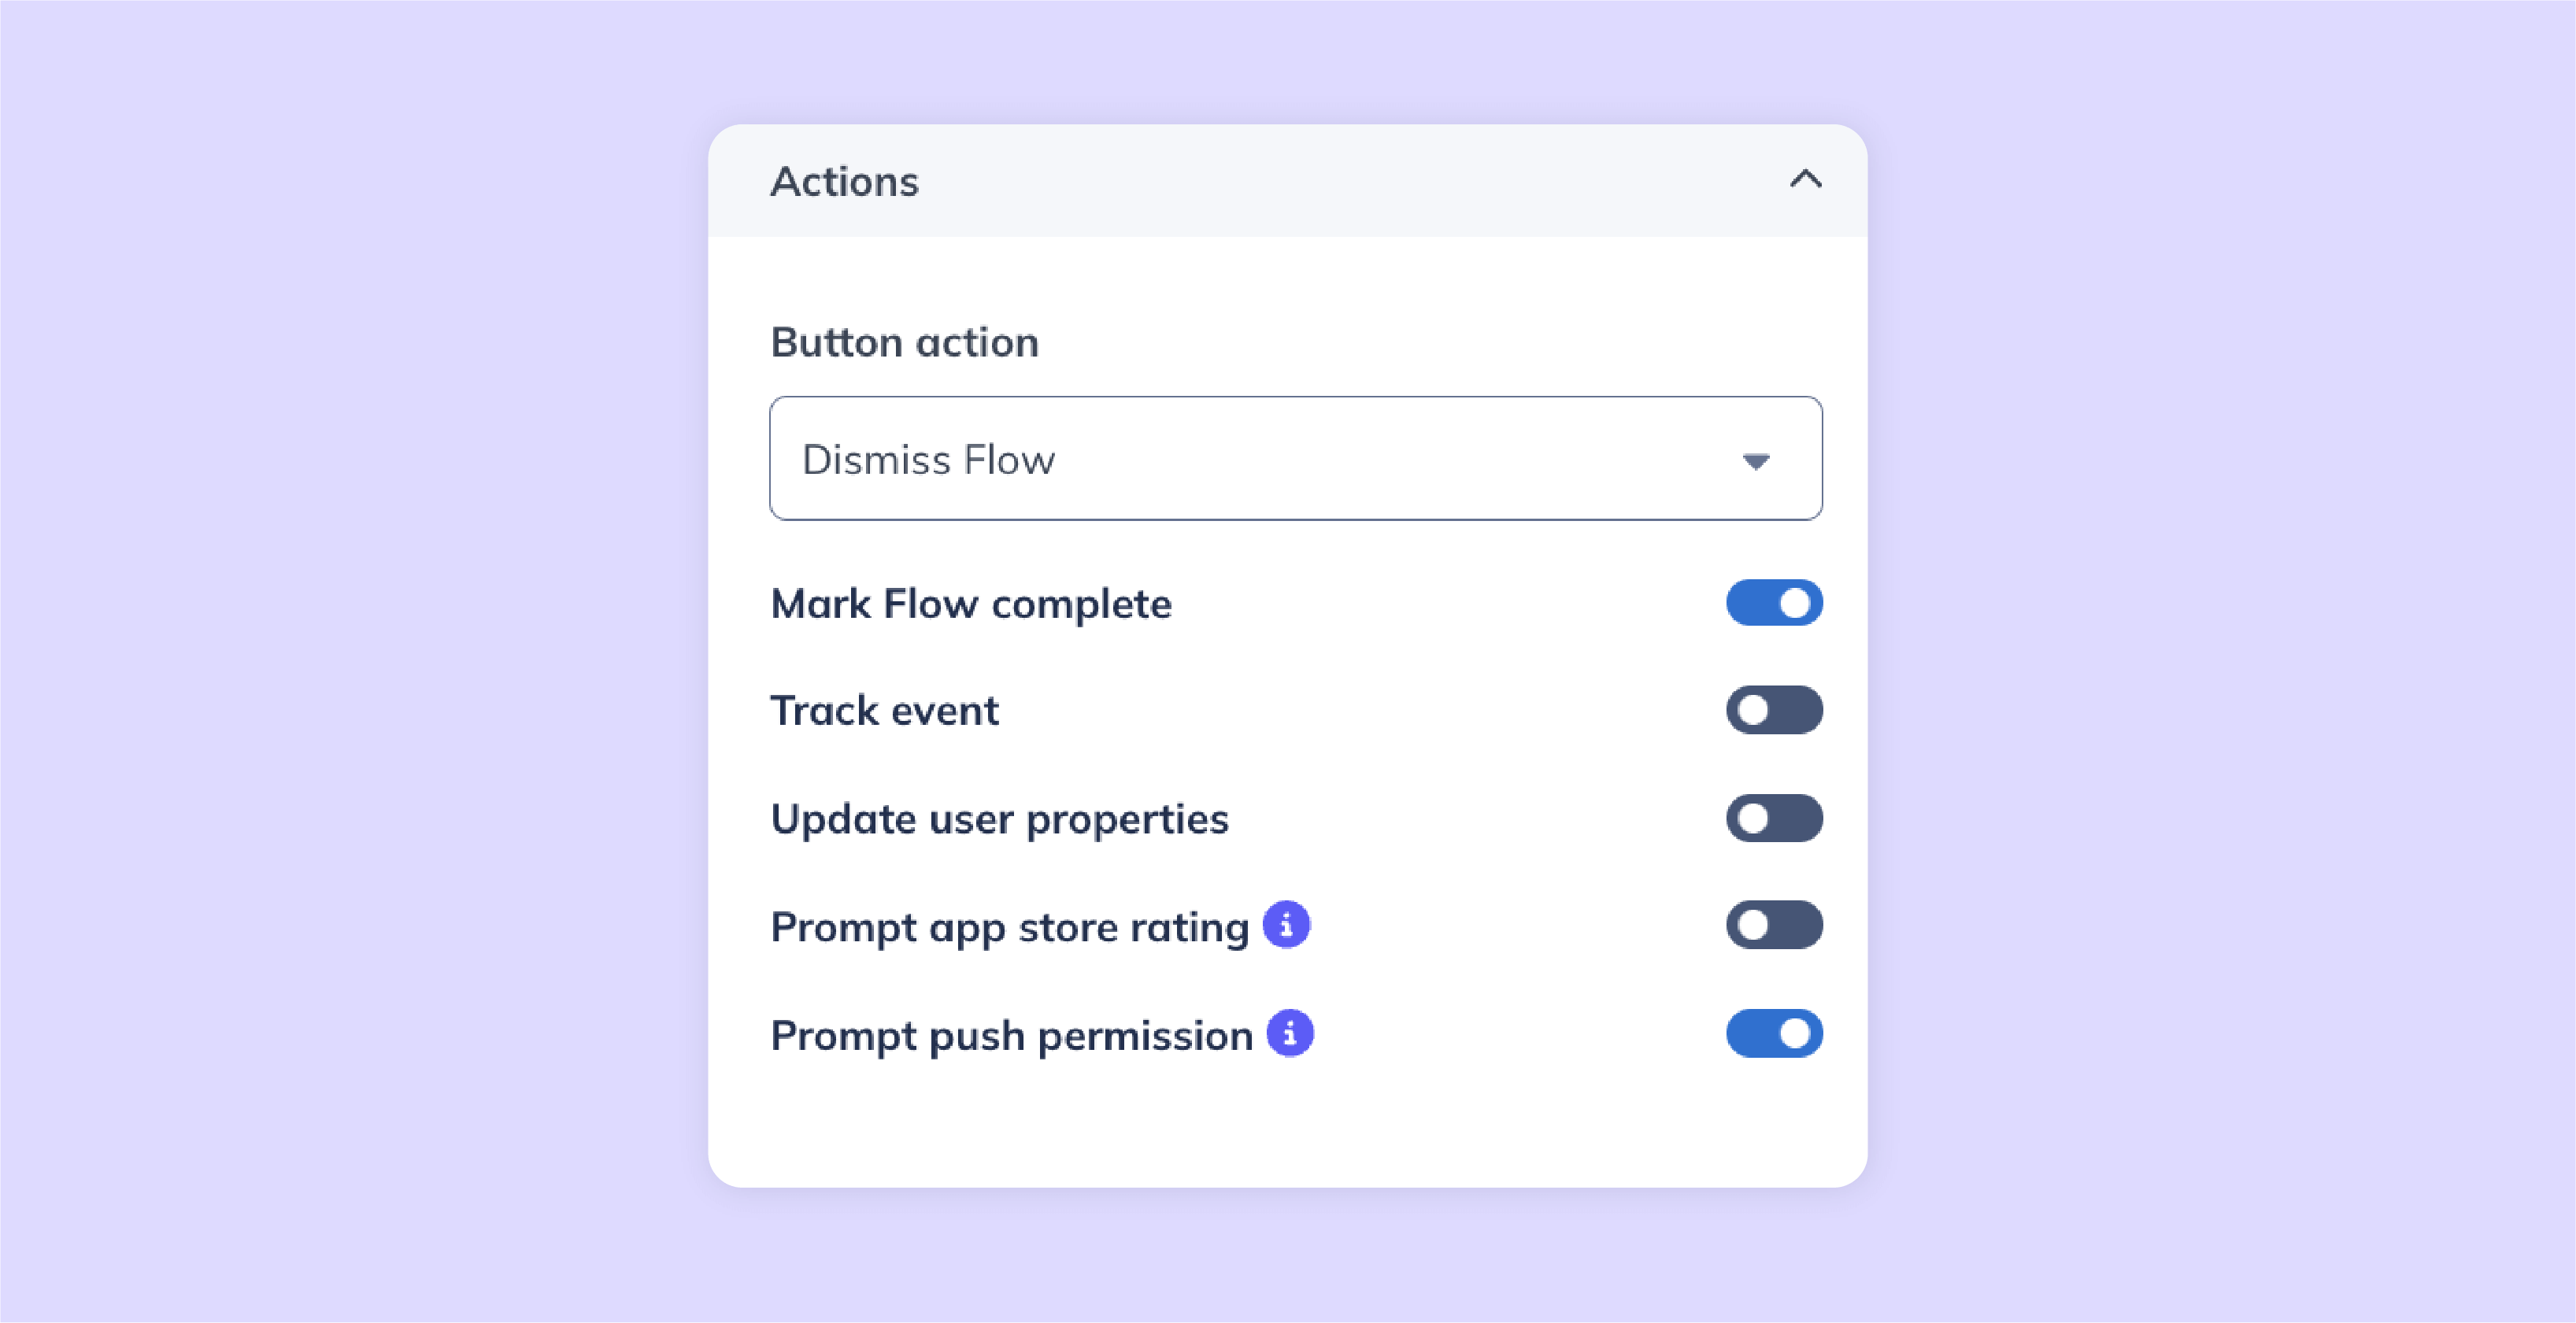
With Appcues, you can ensure your Flow appears at just the right moment. Trigger it after users achieve something meaningful—like completing a key activation step or wrapping up an onboarding milestone—when they’re already engaged and more likely to say yes.
Once users have opted in, it’s time to get those push notifications rolling. Here’s how to make it happen with Appcues:
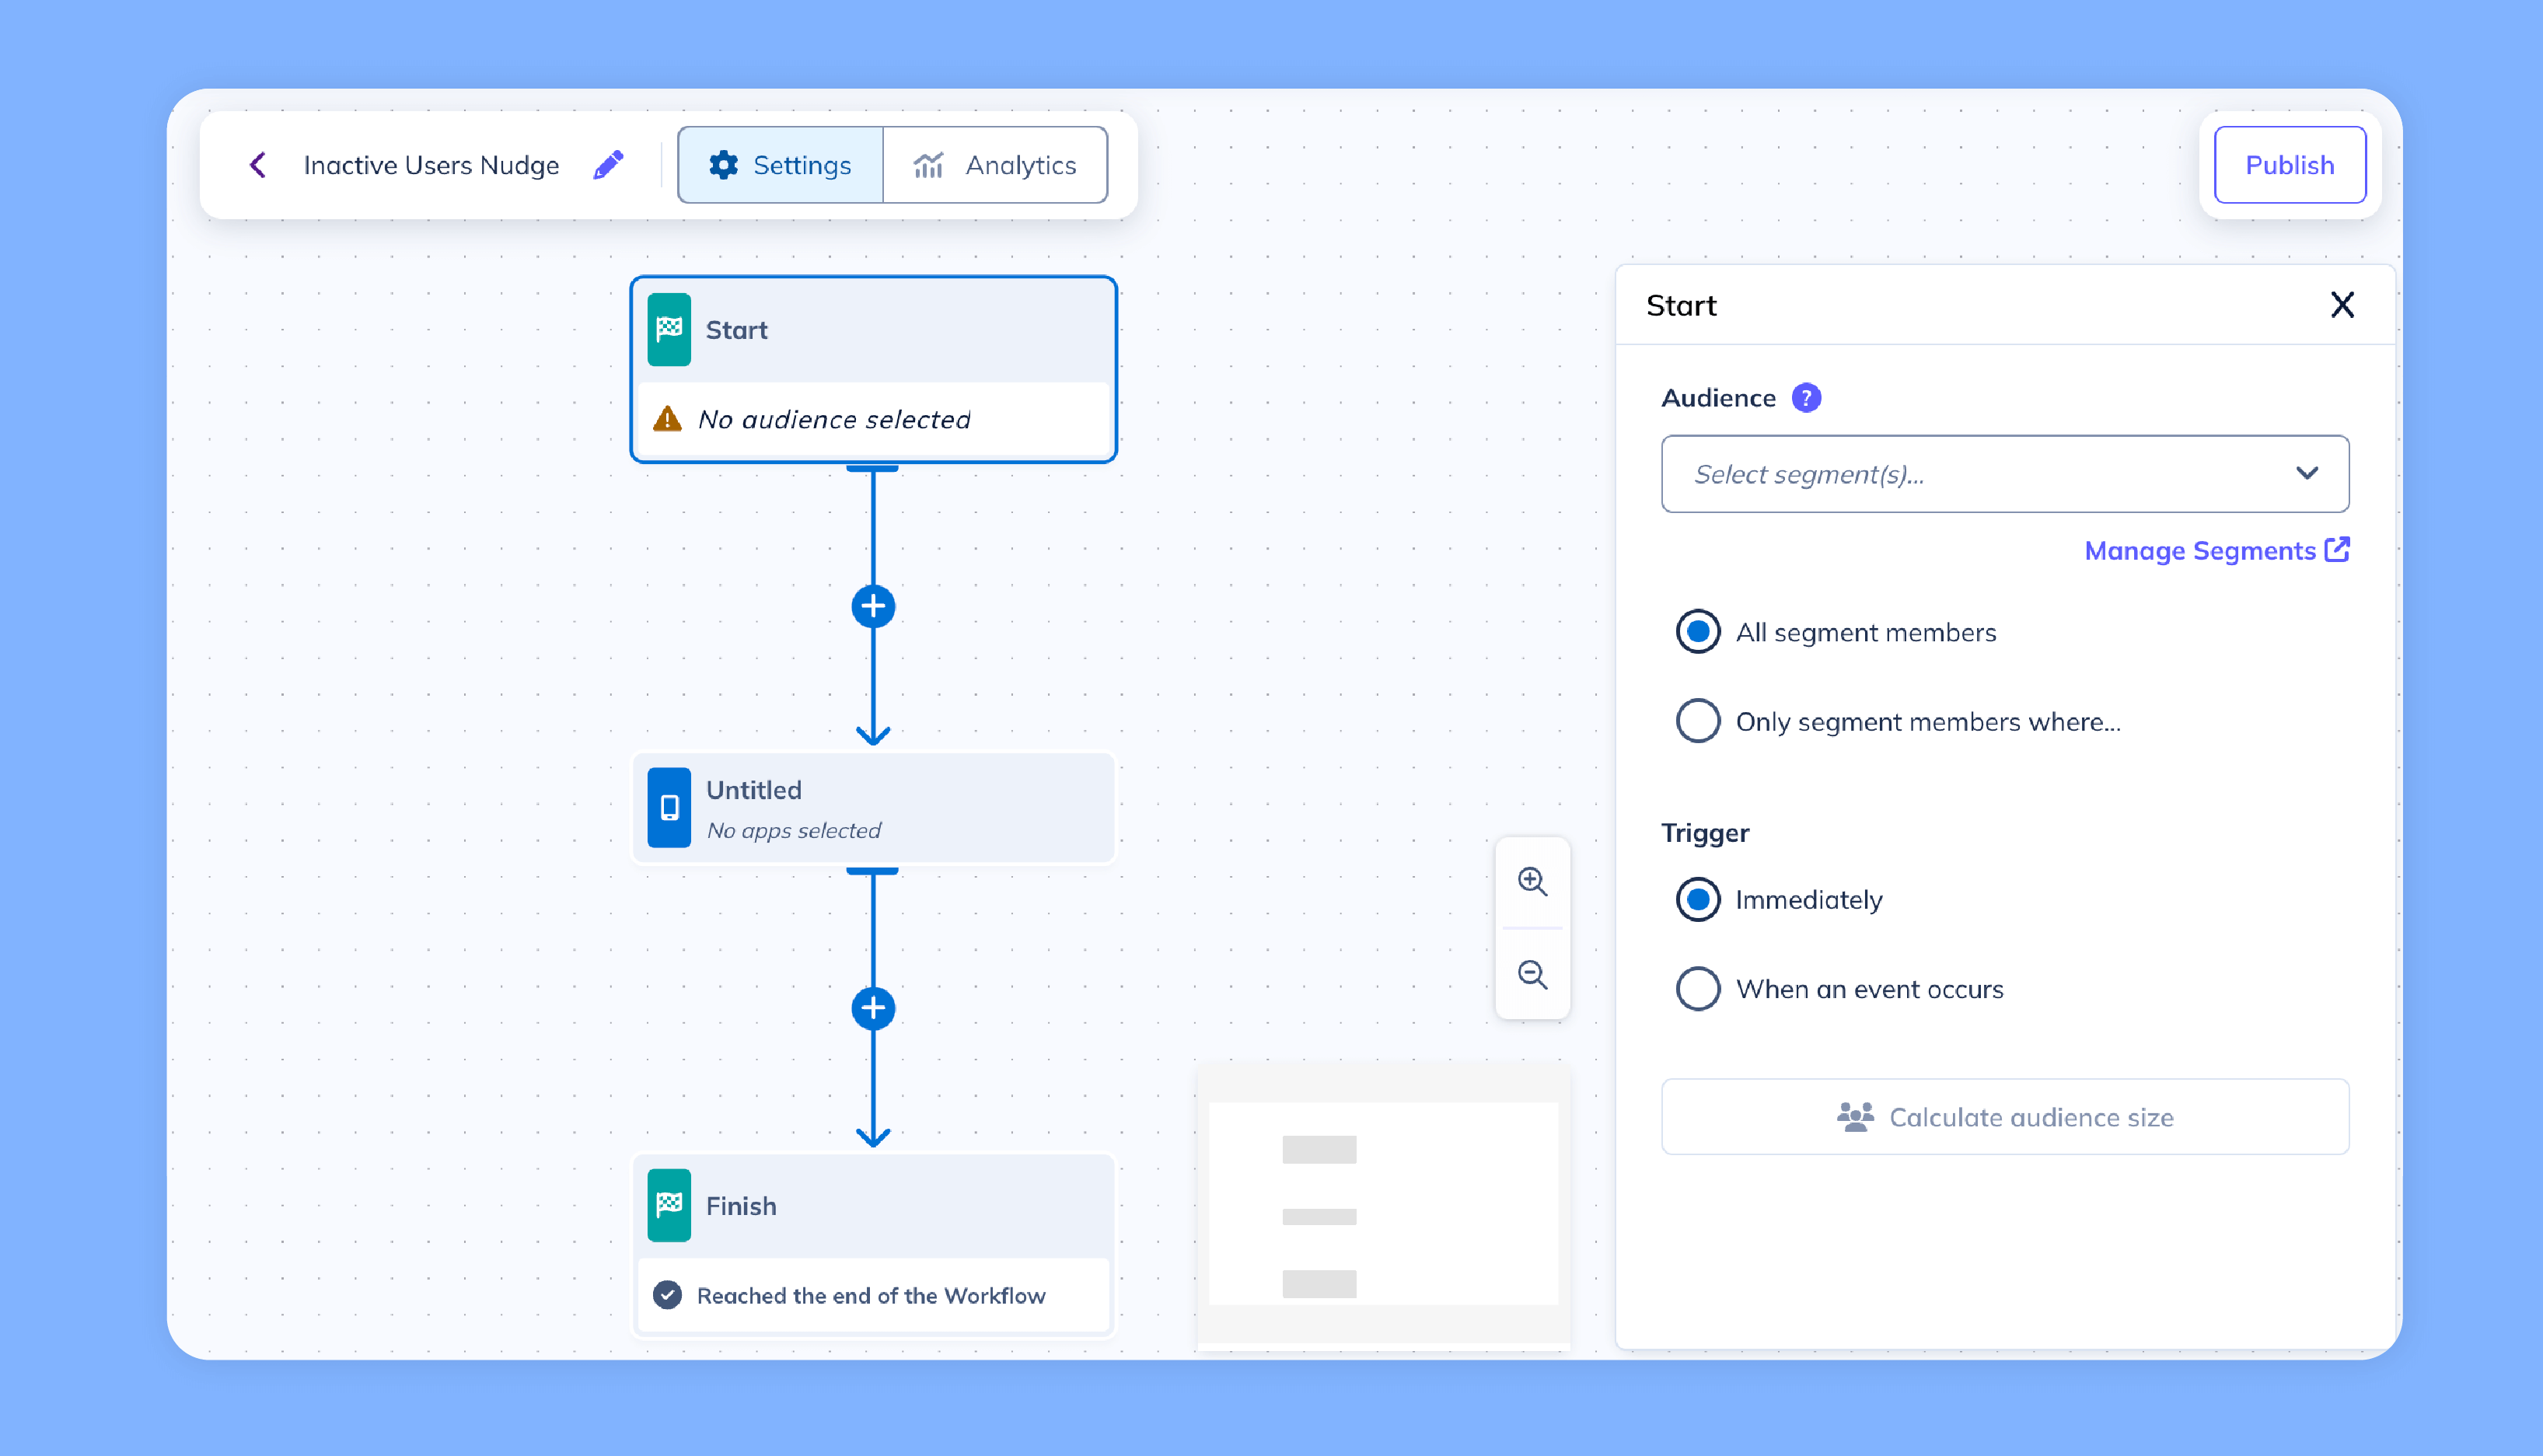

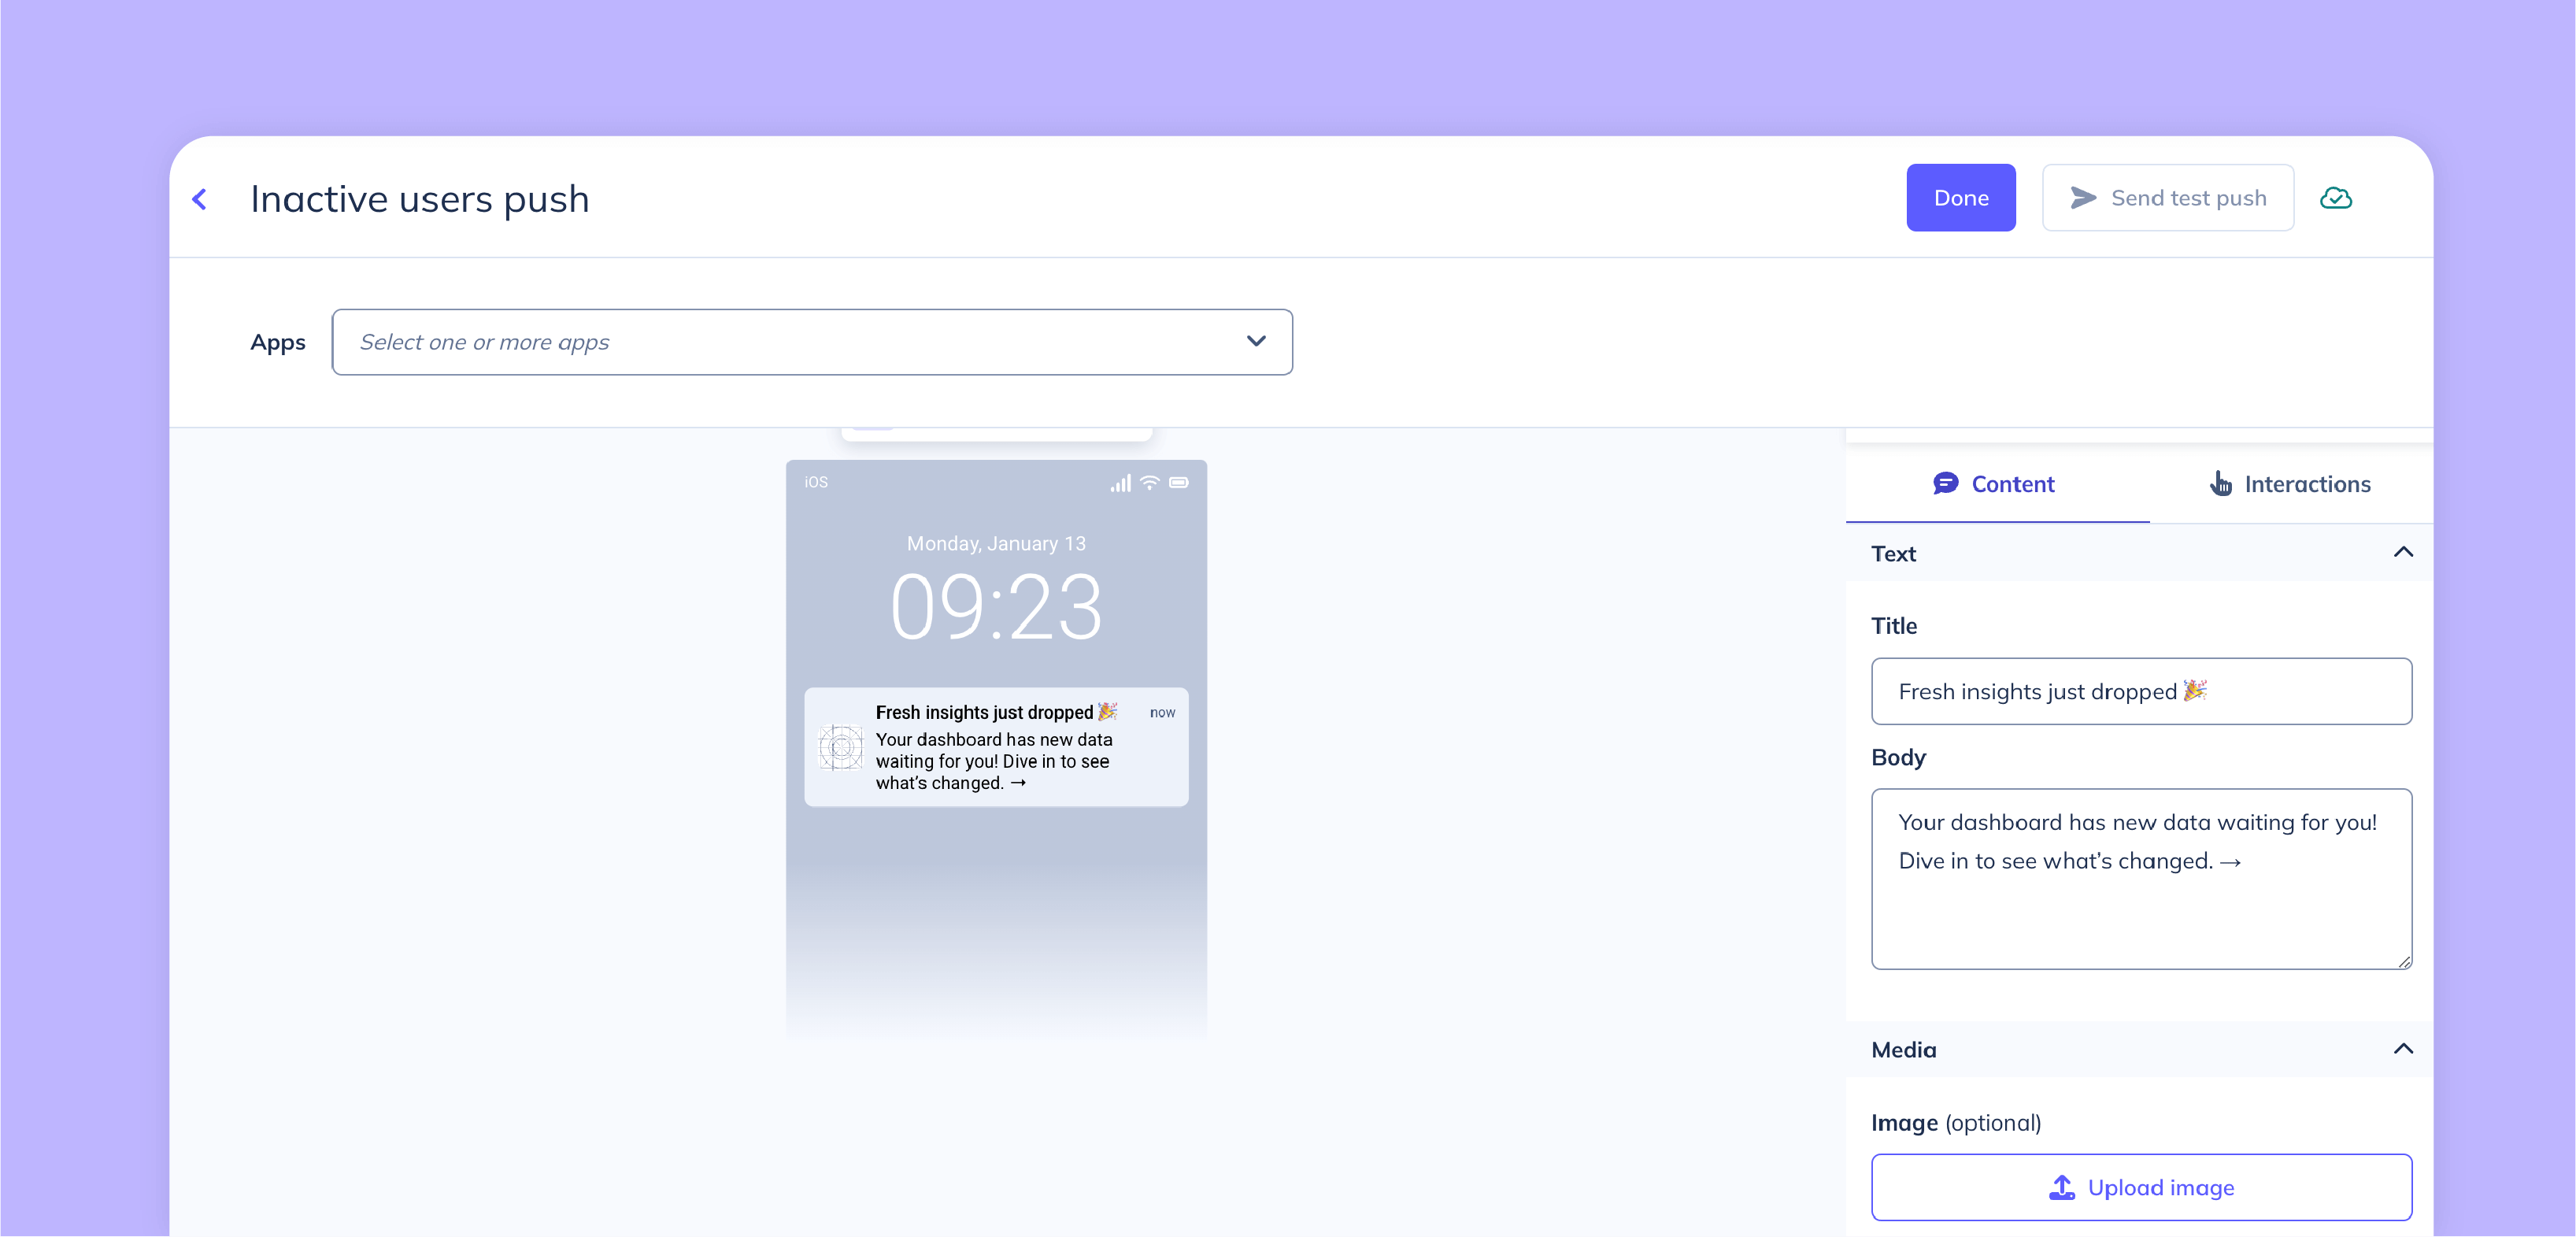
With Appcues multi-channel messaging, you can pair push notifications with emails for a connected experience. Example: Send an email teaser about a new feature and follow up with a push notification when it’s live.
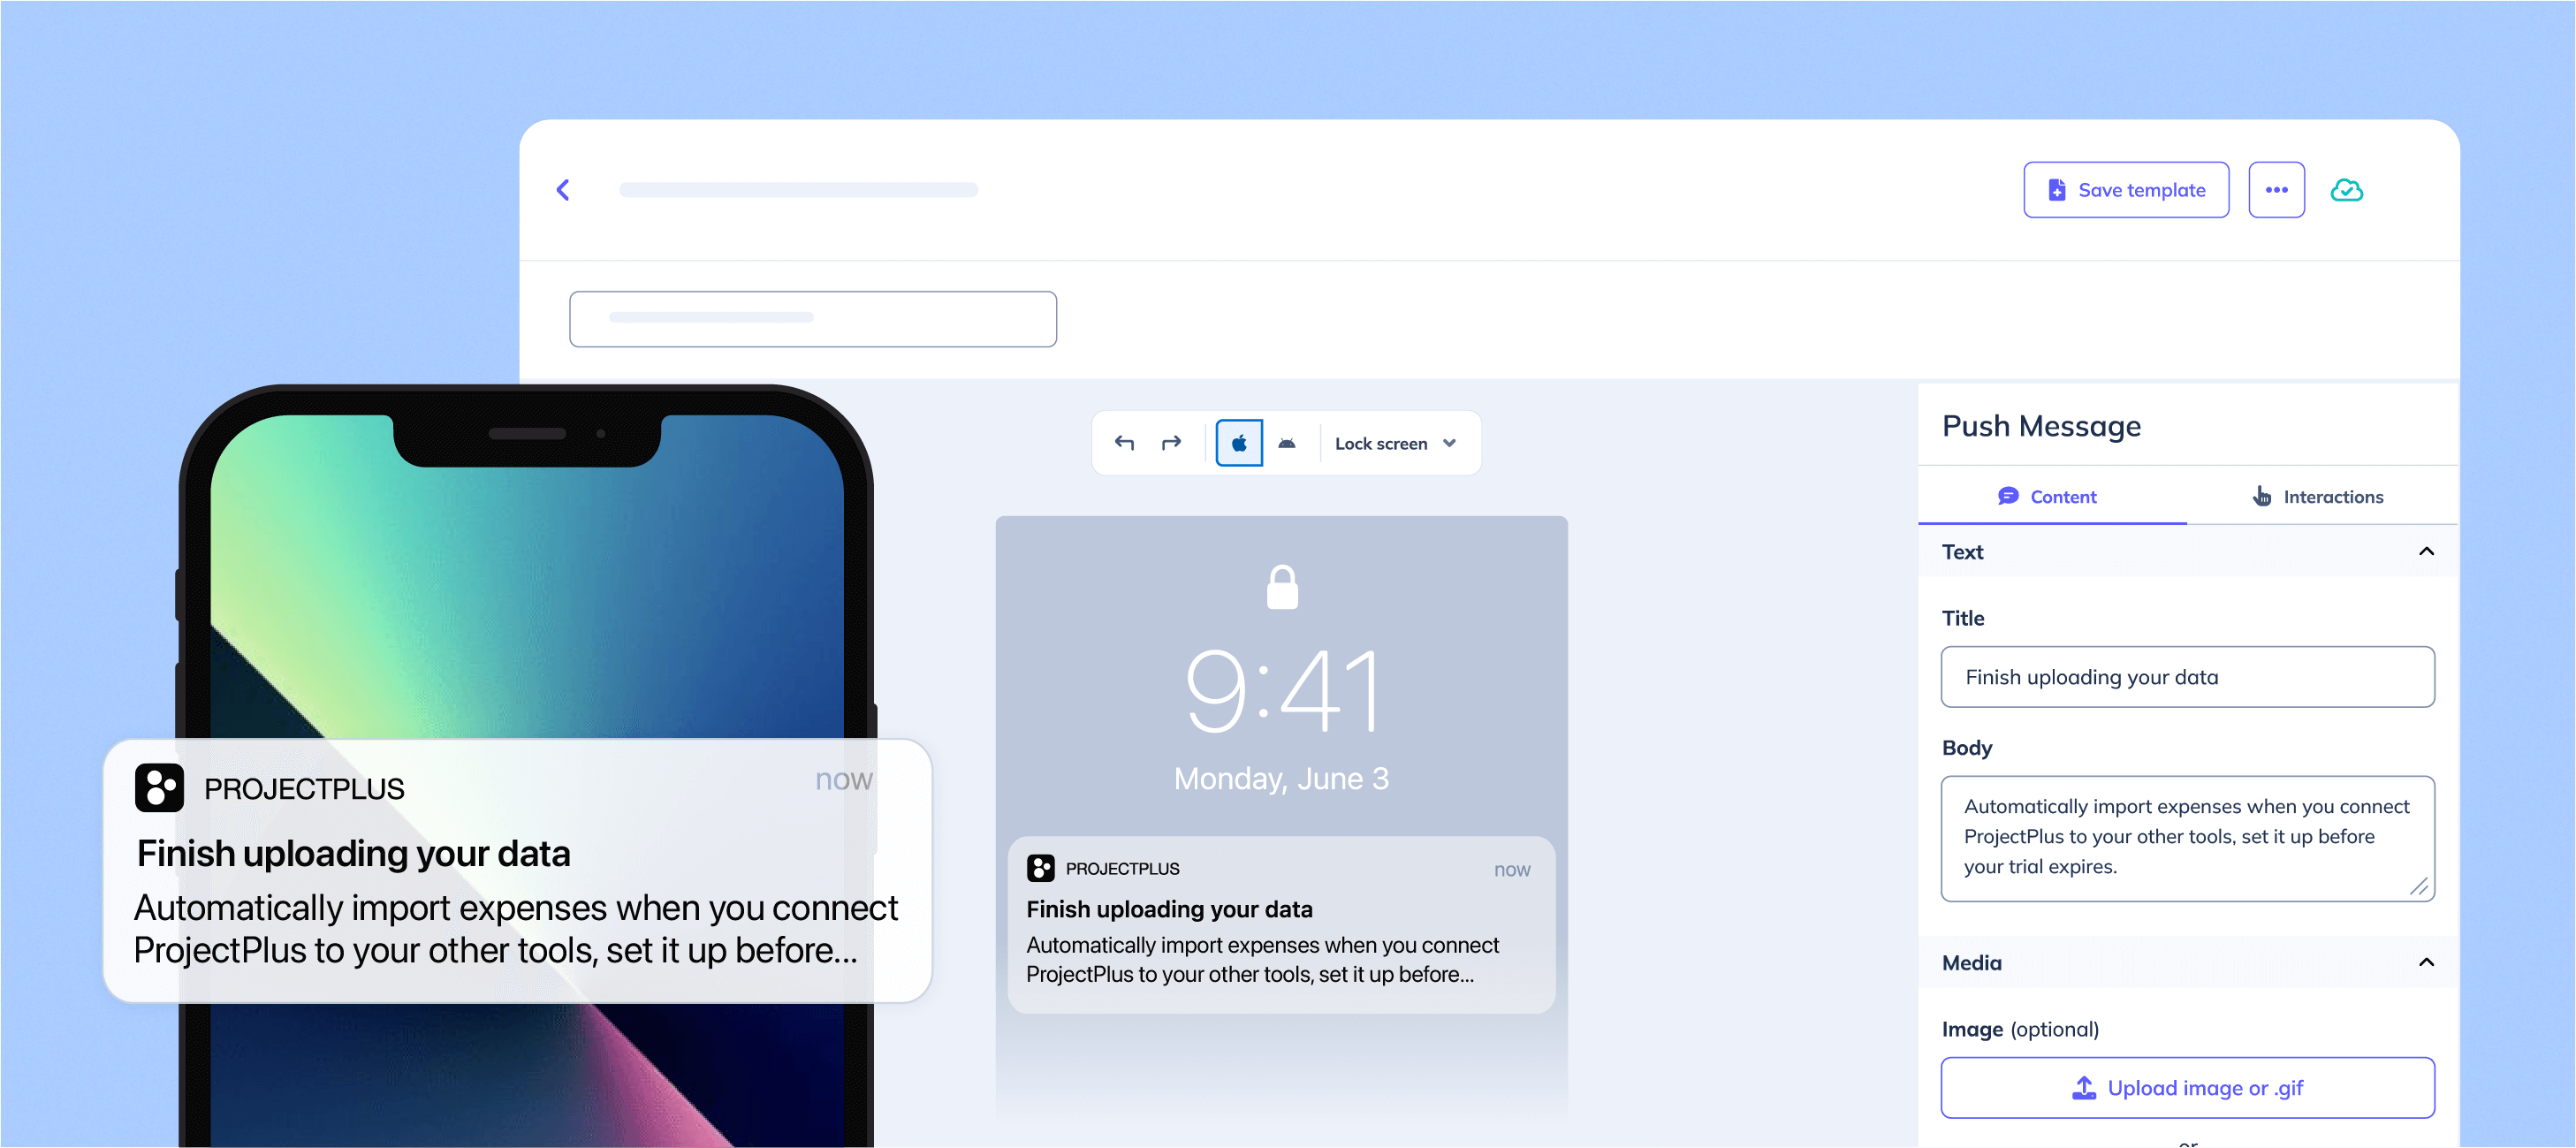
Push notifications are a powerful tool to keep users engaged, but only if you get them to opt in first. By leading with value, crafting the perfect push message prompt, and using Appcues to deliver, you’ll be well on your way to turning hesitant users into loyal fans. And hey, if you’re ready to learn more, schedule a demo with our team today. 💪